Ever since I decided I wanted to buy a full-sized arcade machine, I saved a Craigslist search in my toolbar in Chrome and have, almost every day, clicked that button to see what’s out there. For the most part, there are a lot of arcade cabinets for sale, but most sellers are asking way more than the arcade cabinets are worth. Ms. Pac-Man, for instance, usually goes for over a grand. This cabinet was one of the most popular, and are not rare at all. Yes, for some reason, they are listed for a lot of money. No thanks!
On September 24th (2015) I came across a Craigslist post that was for a Garage Sale in Grand Rapids, Michigan. That’s about an hour and a half drive for me, and our Ford Explorer needs a new radiator (ordered) so I didn’t trust taking it that far. The ad listed a “not working pacman” game for sale, but no more information than that.
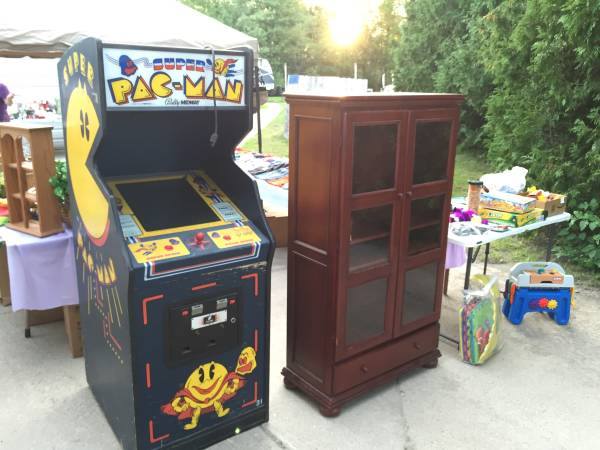
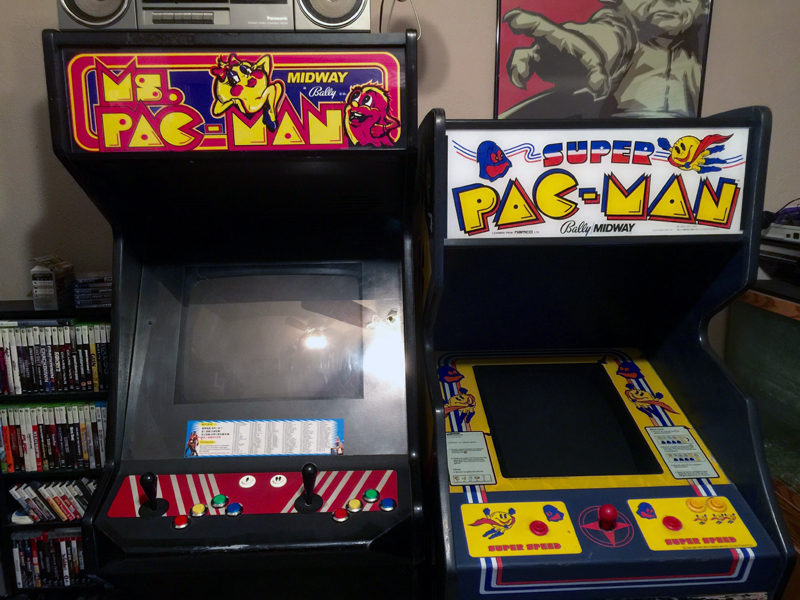
I emailed the seller, and he told he it was a Super Pac-Man and the screen stopped working a few years ago, but he could hear it playing, just no picture. The price was $50. I went back to the Craigslist ad, and noticed that I had neglected to check the pictures. Sure enough, there sat a Super Pac-Man game, and as you can see in the picture below, the cabinet looked to be in great condition.
An arcade playing “blind” is pretty common. These are, after all, thirty to thirty-five year old monitors. I have watched enough restore videos to know that many times, the problem is usually one of two things: a cap-kit (Capacitor replacements) or a faulty power supply. For $50, I thought it was worth taking a chance.
To be clear, I am not a huge fan of Super Pac-Man. It’s only an “okay” game. I much prefer the original Pac-Man or Ms. Pac-Man, by far. But again, $50!
I enlisted the help of Chad Perry, one of my best friends. Chad has a truck! He agreed to help if I did buy the machines.
I contacted the seller again, and asked if I paid for the machine via PayPal, would he hold the cabinet for me. He said yes, so I paid and hoped I didn’t just get played and scammed out of $50. But with the pictures, and the address of the garage sale, I felt good about it.
Saturday, September 26th, was the date for the pick-up. My wife already had plans to take the girls to baby shower, so that left my seven year-old son and me home alone. So while the girls all had a day out, so did Cole and I with Chad!
One uneventful drive later, we get to the address. Sure enough, there is a garage sale going on. It was a nice house, with a big garage. But we did not see the arcade cabinet. Turns out, once it was sold (to me!) they had moved it into the garage. Chad was able to back his truck almost right to the door, and within two minutes, we had the Super Pac-Man loaded up and we hit the road!
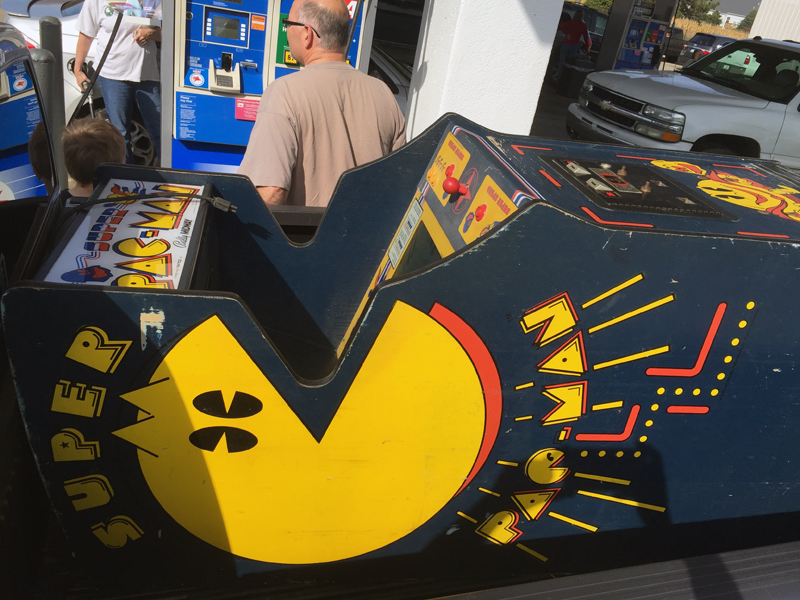
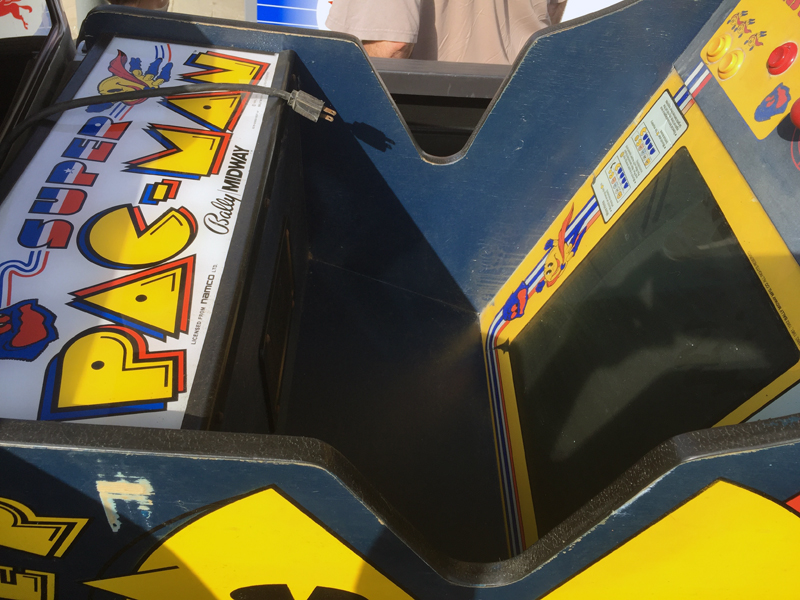
We did stop for gas at one point, so I took the below pictures of transporting the cabinet. And for those curious, yes, that is Chad pumping gas into the truck in one of the pictures.

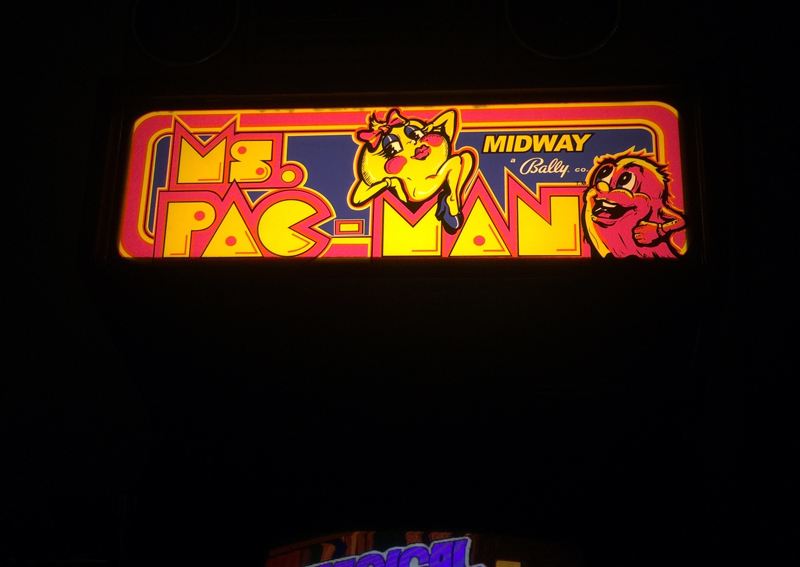
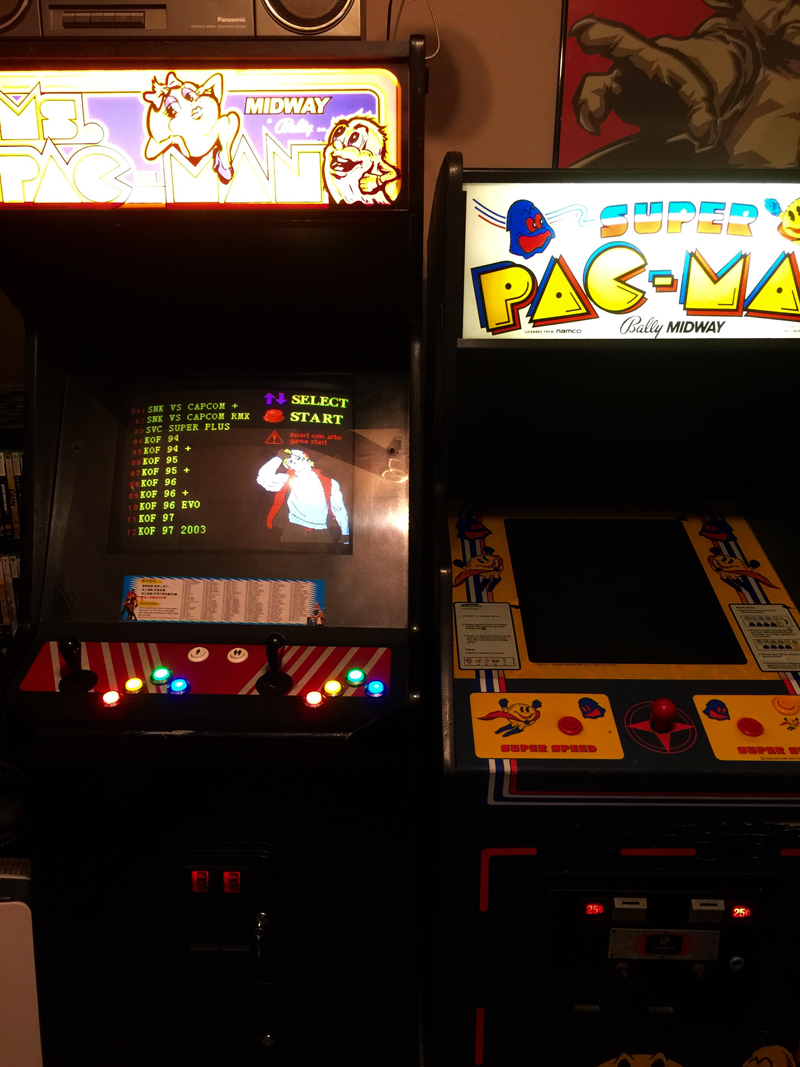
Once home, I lightly cleaned the machine up with some Fantastic and Magic Eraser. It still needs more cleaning, but for now, I just wanted to get it plugged in and see what it does. As advertised, the monitor is dead, but when you power it on, and coin it up, the game does play. You can hear the music and sounds just fine. The marquee also lights up. It’s playing blind.
I checked some voltages coming off the power supply, and everything checked out. I also replaced all the fuses. Still, no joy from the monitor.
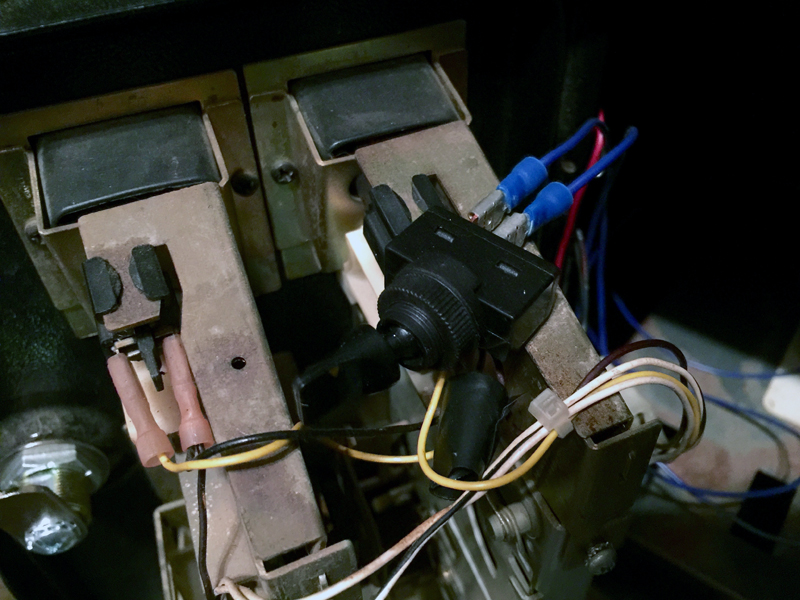
A cap-kit is not expensive, but I wanted to visually check the monitor before I ordered one. That’s when I took a close look at the neck board on the monitor, and noticed that it is cracked. Opps! But at least I now know what the problem is. (Well, what ONE of the problems are: it may still need a cap kit)
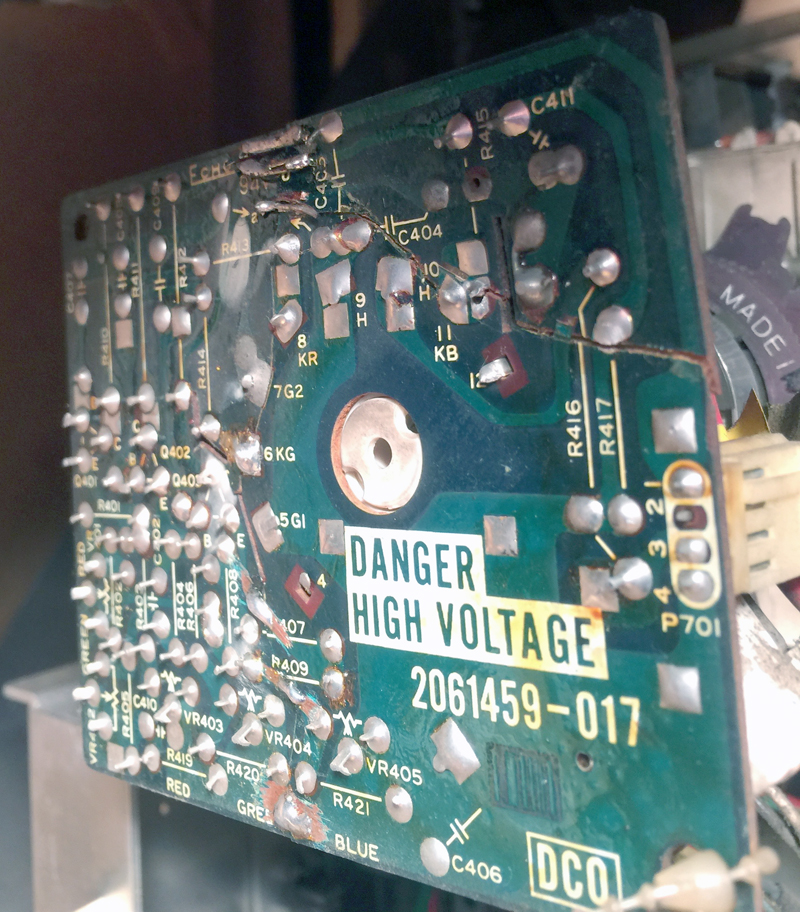
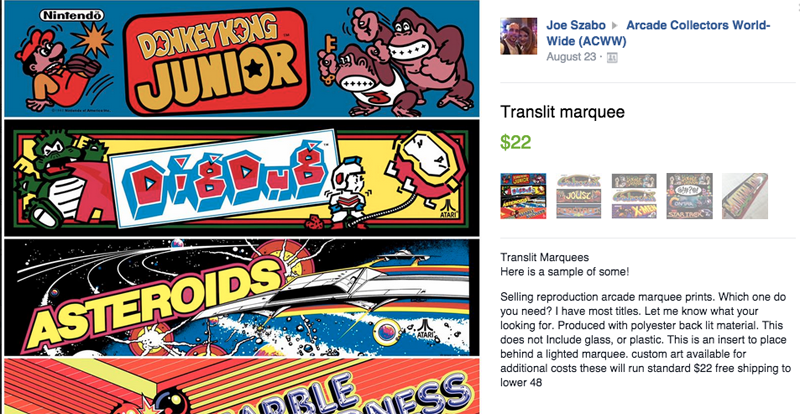
Many people on the Arcade Collectors World-Wide Facebook page suggests this is a fairly easy fix with some wire jumpers for the tracers, and hot-glue to hold it together. I may eventually solder it up, but another user informed me he had an extra neck board of this model, so I now have that. The next step, when I have the time, will be to replace the broken neck board with this “good” one and see what happens. It’s not a long or tedious job, but I will have to discharge the monitor. Heck, it’s taken me longer to write this post than the actual swap will take, but I wanted to get a post online about my latest addition first.
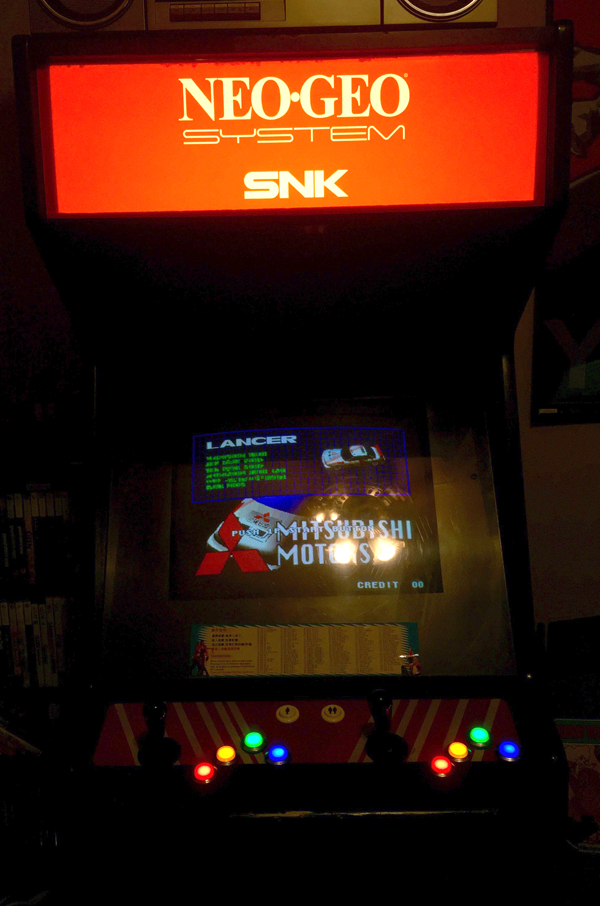
Here is a picture of the Super Pac-Man sitting next to my Neo Geo. Yes, I know that Neo is sporting the Ms. Pac Man marquee! But this does demonstrate how much smaller the Super Pac is next to the mammoth Neo Geo Dynamo cabinet.
Lastly, I am torn. I know I want to keep the cabinet original, including the monitor, PCB, power supply, etc. But as I wrote above, Super Pac-Man is not a favorite of mine. So I may get a Super Pac-Man to Jamma adapter, and put in a 60-in-1 board. This will allow me to have more games in the cabinet without the need to remove or change any of the original parts. (And Super Pac-Man is actually on the 60-in-1) I would simply unplug the wiring harness from the Super Pac-Man PCB, plug that into a Jamma adapter, and plug the 60-in-1 board into that. Presto, original arcade cabinet, with all the original internals, but with a nondestructive mod for more games!
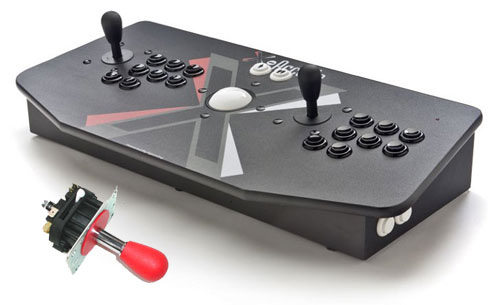
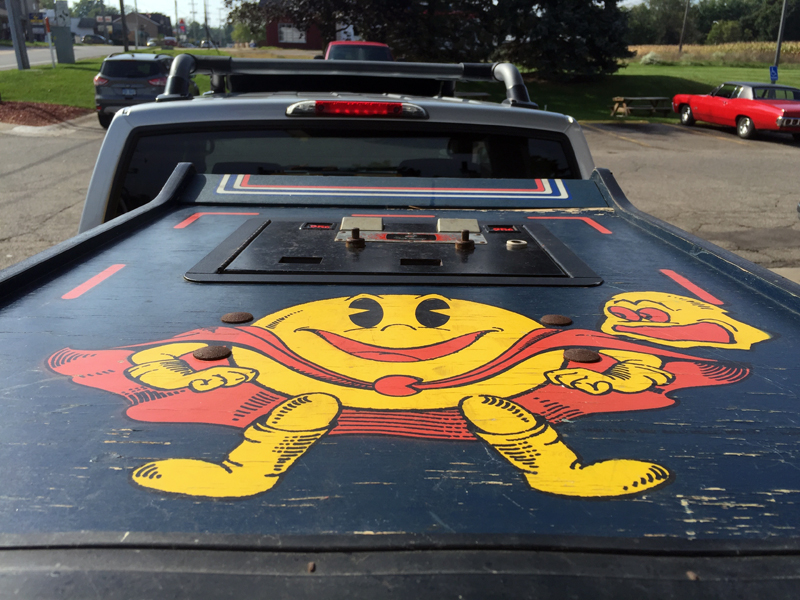
Oh, and the joystick really needs to be rebuilt. I think it works okay, but it’s old and could use some TLC.
Check back soon to see which direction I go!
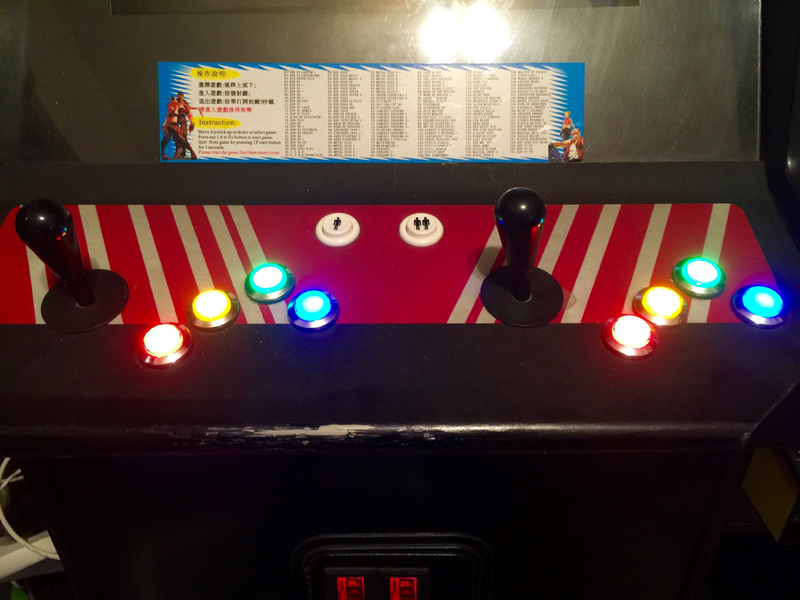
 You may think, what with all my posts about the mini-Arcades, that I have forgotten or abandoned the full-sized NeoGeo cabinet. Nothing could be further from the truth. In fact, before I even started to build the mini-Arcade machines (and I still have one left to go as I write this), I had updated the NeoGeo in four very significant ways.